
How to implement Access Control Plugin for Portal
Generally speaking XR applications will work out-of-the-box with Innoactive Portal. There is no need for customization, integration of external SDKs or further implementation, as long as your project follows these requirements and you are aware of these exceptions. The Access Control Plugin is an add-on, but it is not stricly required.
Access Control Plugin is not needed for applications which are streamed and not downloaded. Streaming accesses are controlled directly via platform and users Permissions and do not need additional plugins.
Innoactive Portal is a platform to securely deploy and distribute your VR content. With Portal you are in control of your applications until they are installed to a users’ PC. To protect your applications from being used without your control, e.g., by miss-use, unauthorized distribution to other PCs or using the applications without granted permission, you may add the Innoactive Portal access control plugin to your Unity or Unreal project. An application that includes the access control plugin can only be started by using the Innoactive Portal desktop client. You can even control the access rights if the client PC goes offline.
This user manual will guide you, as a developer, on how to setup the access control plugin for Unity (5.5, 2019.4) on a Windows machine. Be aware that other Versions of Unity and Unreal should work but are not thoroughly tested.
If you are looking for more technical documentation including README files, please visit this page.
Add Access Control to your Unity project
Scripting backend of your Windows Unity projects must be set to Mono.
Visit this page
Download the Innoactive Portal - Access Control Plugin – Unity
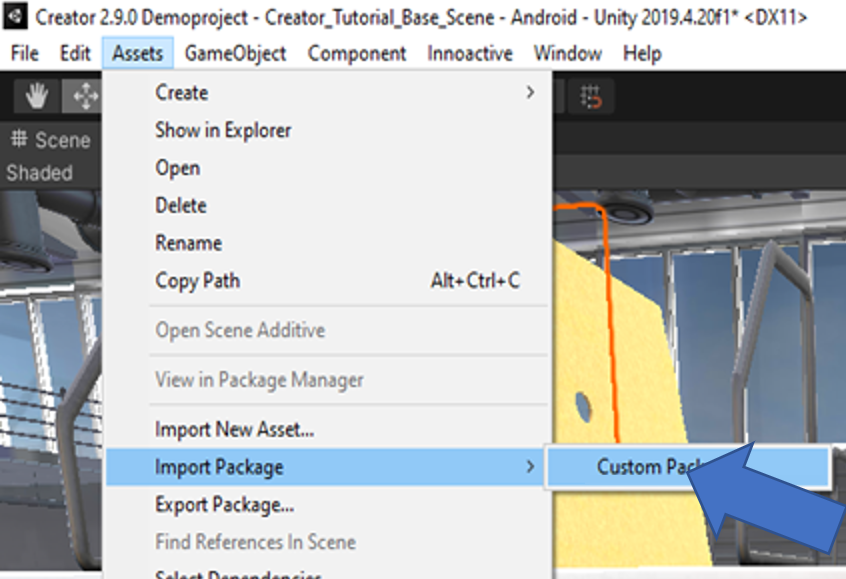
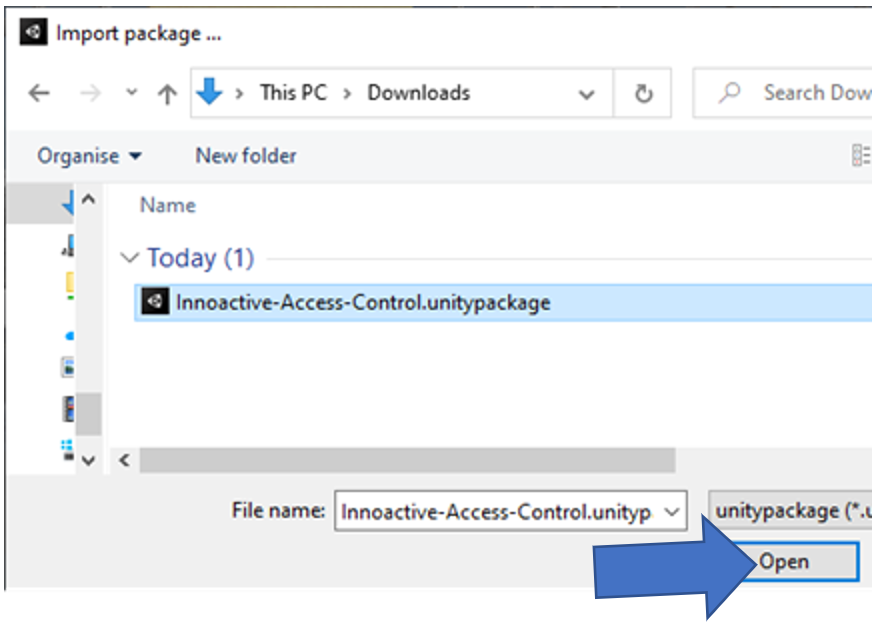
Import the ‘Innoactive-Access-Control.unitypackage’ to your project
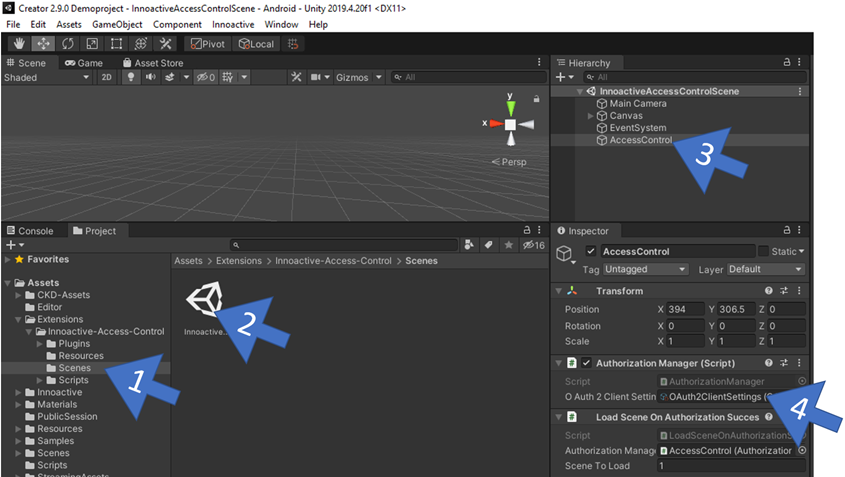
Configure the InnoactiveAccessControlScene to work with your Portal instance and related application:
Go to Innoactive Access Controls’ Scenes Folder
Double click to open on InnoactiveAccessControlScene
Click on AccessControl in the Hierarchy
Double click on OAuth2ClientSettings in inspector to open
Add:
your ClientID (see Obtain the ClientID)
Backend URL: https://orgname.innoactive.io

Save the Unity Scene (Strg+s)
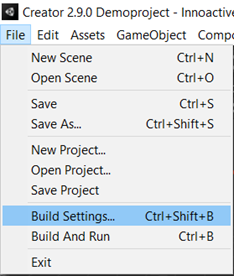
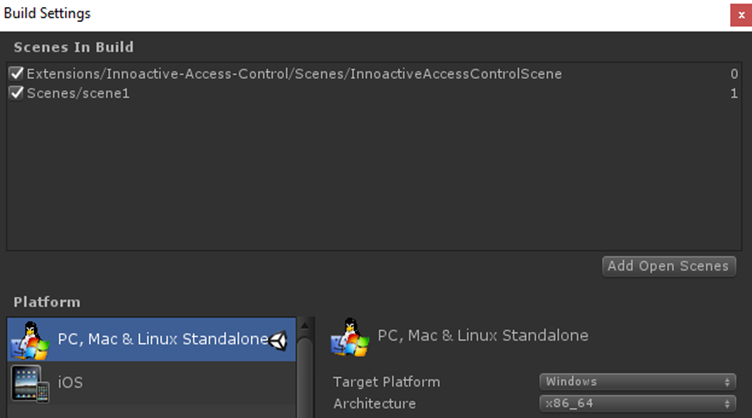
Open the Build settings (1), add the InnoactiveAccessControlScene to your Scenes In Build by clicking on Add Open Scene (2)
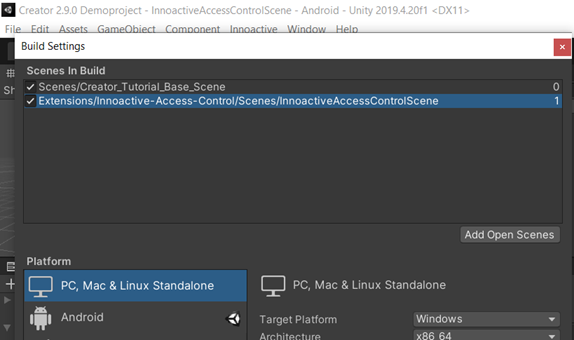
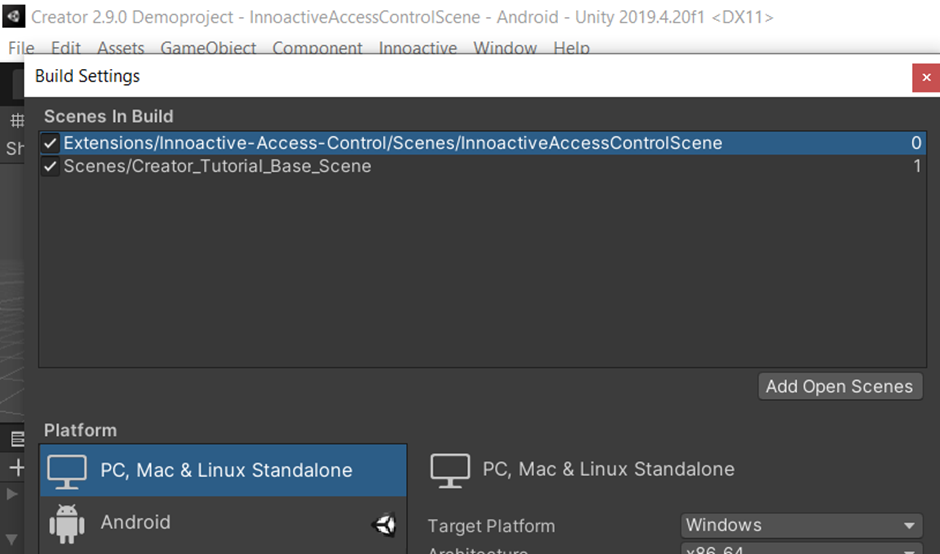
Make the InnoactiveAccessControlScene the Scene zero by drag and drop to the first position.
Now your Unity project is set up and can be build with access control included.
Please make sure - after the build has finished - to upload the project to the corresponding application that you created in Innoactive Portal.
Obtain the ClientID
Visit your Portal Control Panel https://orgname.innoactive.io/control-panel/v2/
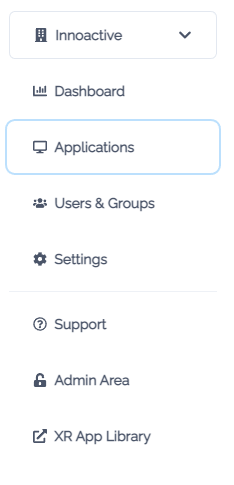
Click Applications tab on the left.
Click on New Application on the right.

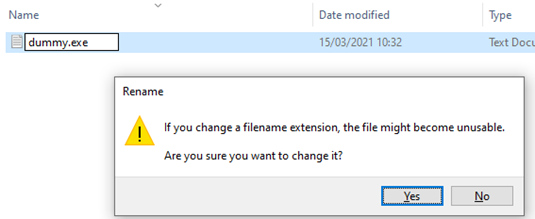
You will now create a placeholder application to create the OAUTH2 CLIENT ID. You will update the version of this placeholder application with your final Unity app. In case you want to upgrade an application that exists in your Portal, please browse to it and proceed to step 11.On your local machine create an empty text file and rename it to dummy.exe
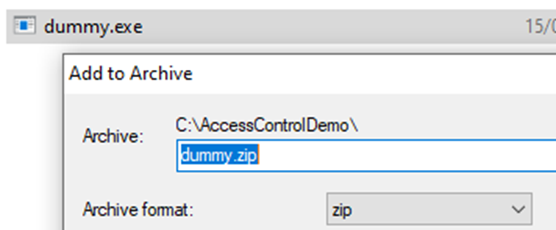
Compress the dummy.exe file as a .zip archive named dummy.zip
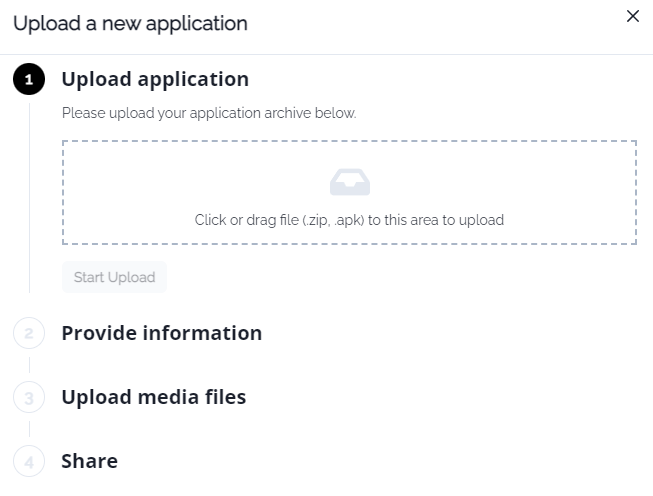
Go back to the browser with the Upload a new application tab to upload the dummy.zip
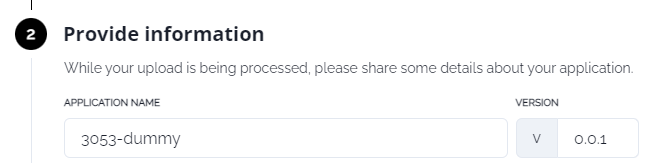
Provide all the information that describes your application like name and description. Set the version to an alpha state number like 0.0.1.
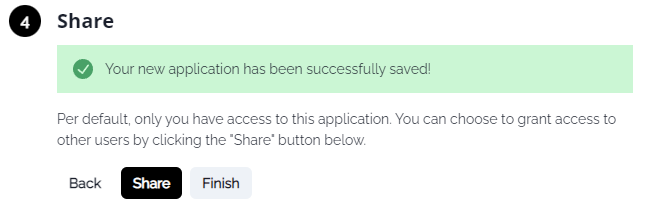
When finishing to upload you can simply click on Finish.
Now open the application from the list.
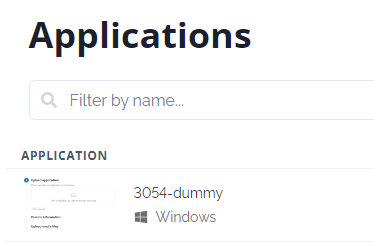
In the Builds tab you will find several information. What you need to double-check is that dummy.exe is contained in the Executable path.

You can then switch to Integrations tab and copy the OAUTH2 CLIENT ID.
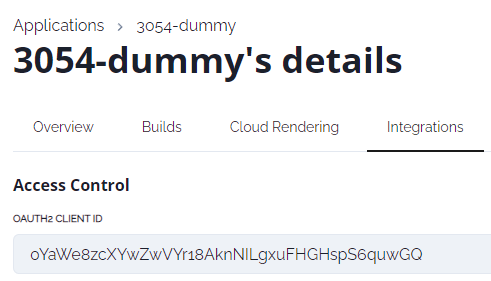
Copy the OAUTH2 CLIENT ID and use it in as the ClientID in the OAuth2ClientSettings of your Unity project.
Updating your project
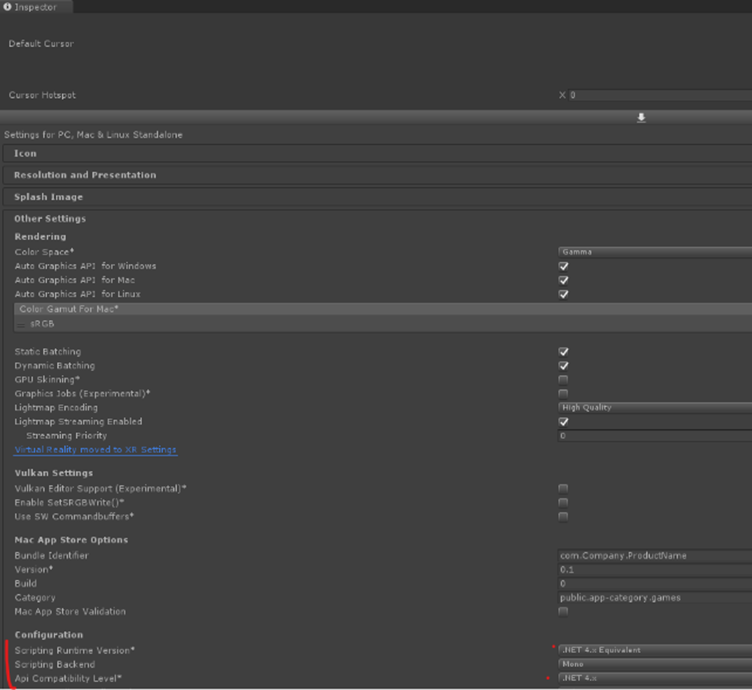
Set your project build architecture to x86_64
Set your scripting runtime version and API compatibility level (names may vary between Unity versions) to .NET 4.x
In rare cases with Unity versions below Unity 2019, the authentication might fail most of the time when starting the finished application. A quick fix is to go to ‘Standalone Player Options’ and set the ‘Display Resolution Dialog’ option to ‘Enabled’.