How to sideload Innoactive Portal client on standalone devices - Meta Quest sideloading
Portal VR client is available on the main standalone devices enterprise stores: we are already present on Meta App Lab, Vive Business AppStore and Pico Enterprise Store.
It is possible to receive an email update every time we release a new version of our VR client. You can subscribe here.
Generally speaking sideloading is the process of transferring data between a PC and a mobile device. Sideloading Innoactive Portal client on standalone devices can be straightforward for some devices like Pico and HTC Focus, but it can be more challenging on other devices such as Meta Quest. In this documentation article, we will use the Meta Quest as an example and guide you through the installation process step by step.
This guide is a general reference for sideloading applications on Meta Quest devices, and it should not be considered as a specific workflow for Innoactive products. This process will enable you to have a fully functional Innoactive Portal client app running on your Meta Quest device, and you will be able to easily access and use all the XR applications available on your Innoactive Portal organization.
To accommodate users with varying levels of experience working with VR devices, we've organized this guide into two sections:
While this article is a good starting point to use Innoactive Portal in an evaluation phase, we highly recommend considering to distribute Portal client app via MDM or enterprise stores like Meta App Lab.
Quick guide
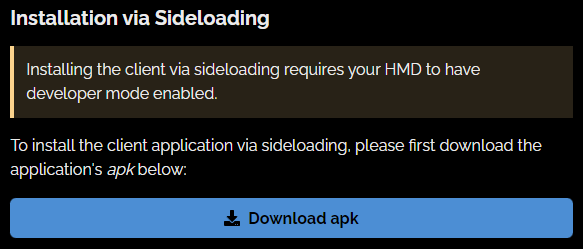
If you are already part of a Meta Developer Organization, the first thing to do is to download the Portal client apk file, you can find it in your organization, or reach directly to the download page through a link that looks similar to this one: https://yourorgname.innoactive.io/install-client/oculus-quest/sideload
Once here, you can click on Download apk.

Now that you have downloaded the apk file, the second thing to do is to Enable Developer Mode on your headset. The official way to do it is described here.
Once here, it’s time to actually transfer the apk file from your computer to the headset, the recommended way to do it is through Meta Quest Developer Hub, a general overview of the tool and how to install it is available here.
If your headset is connected, you can simply drag and drop the Portal client apk file and wait for the installation to be completed in the Meta Quest Developer Hub.
Once the app is installed it won’t be available on the main library, but it is available in unknown sources menu. Here is a simple video on where to find it.
https://vimeo.com/796233610/7a13bea2a6Step-by-step guide
To sideload the Portal app to your Quest, you will need:
A charged Meta Quest device
Charged controllers
A suitable USB-C cable from headset to PC
A smartphone with the Meta Quest app installed
You can download it from the usual App Store of your smartphone
You can launch the Meta Quest app and Connect your device
A laptop or desktop with SidequestVR installed
You can download and install SidequestVR on your PC from this link and use the advanced installer
You then need to enable developer mode on your headset:
Turn on the Quest and open the Meta Quest app on your phone
Under "Devices" at the bottom right we find the connected quest
Click on "More Settings" under the headset in the list
Click on "Developer Mode"
Select "Enable Developer Mode"
Reboot your Quest Headset using the power button on the right
Developer mode is enabled, now you can sideload the Portal client:
Connect the headset to the PC and put on the headset.
A window pops up and we allow both "USB Debugging" and "access to data"
Open Sidequest and connect the headset
Download the Portal Client via https://orgname.innoactive.io/install-client/oculus-quest/sideload
In Sidequest click on the 5th icon from the left (a folder with a downward arrow) in the top right corner and select the portal client that was downloaded in the previous step.
Once installed, you will find the Portal Client in the headset via App Library, at the top right click on the arrow for the drop-down menu and click on "Other Sources" at the bottom
